Introduction
Direct-to-Film (DTF) printing is changing the game for custom garment design. It lets you create vibrant, durable prints with incredible flexibility. At dtfsheet.com, it’s as simple as uploading your design, getting DTF heat transfer sheets delivered, and using a heat press to bring your ideas to life. You can personalize clothing and accessories without leaving your home.
That said, getting flawless results starts with how well you prepare your designs. This guide walks you through everything you need to know about optimizing your artwork for DTF printing, from setting up your design files to avoiding common mistakes. Whether you’re a total beginner or a seasoned pro, these tips will help you nail it every time.
What Is DTF Printing?
DTF printing works by transferring your design onto a special film coated with adhesive powder. Once heat-pressed onto fabric, the result is a vivid, long-lasting print. Unlike traditional methods like screen printing or vinyl, DTF printing can be used on almost any material—cotton, polyester, blends, you name it.
For dtfsheet.com customers, this opens up endless possibilities: T-shirts, tote bags, hoodies, hats—whatever you dream up. But here’s the kicker: properly optimizing your designs is what makes the difference between "meh" and "wow."
How to Prepare Your Designs for DTF Printing
-
Use the Right File Format
To get a crisp, high-quality print, your digital files need to hit certain benchmarks:- File Format: Always save your design as a PNG with a transparent background. This ensures the design transfers cleanly without any awkward borders.
- Resolution: Your file should be at least 300 DPI (dots per inch). Lower resolution can lead to blurry or pixelated prints.
- Color Mode: Save your file in RGB mode, which works best with DTF printers for vibrant colors.
-
Choose the Right Dimensions
Size matters! Incorrect sizing can distort your artwork or leave extra film around the edges.- Design Size: Scale your design to fit the item you’re working with. A chest logo for a T-shirt might be 10" x 10", but a full-back design needs more space.
- Avoid Resizing Later: Stretching or shrinking your design during upload can mess up the quality.
- Pro Tip: Not sure about the size? Contact dtfsheet.com—they’ll help you pick the right dimensions for their sheet sizes.
-
Keep It Simple and Clean
When it comes to DTF, less is often more. Overcrowded designs with tiny details can lose their impact when printed.- Text: Use bold, easy-to-read fonts. Adding a small outline can also make the text pop.
- Colors: Stick to a focused color palette. While DTF can handle gradients, too much complexity might make the design look cluttered.
-
Focus on Placement
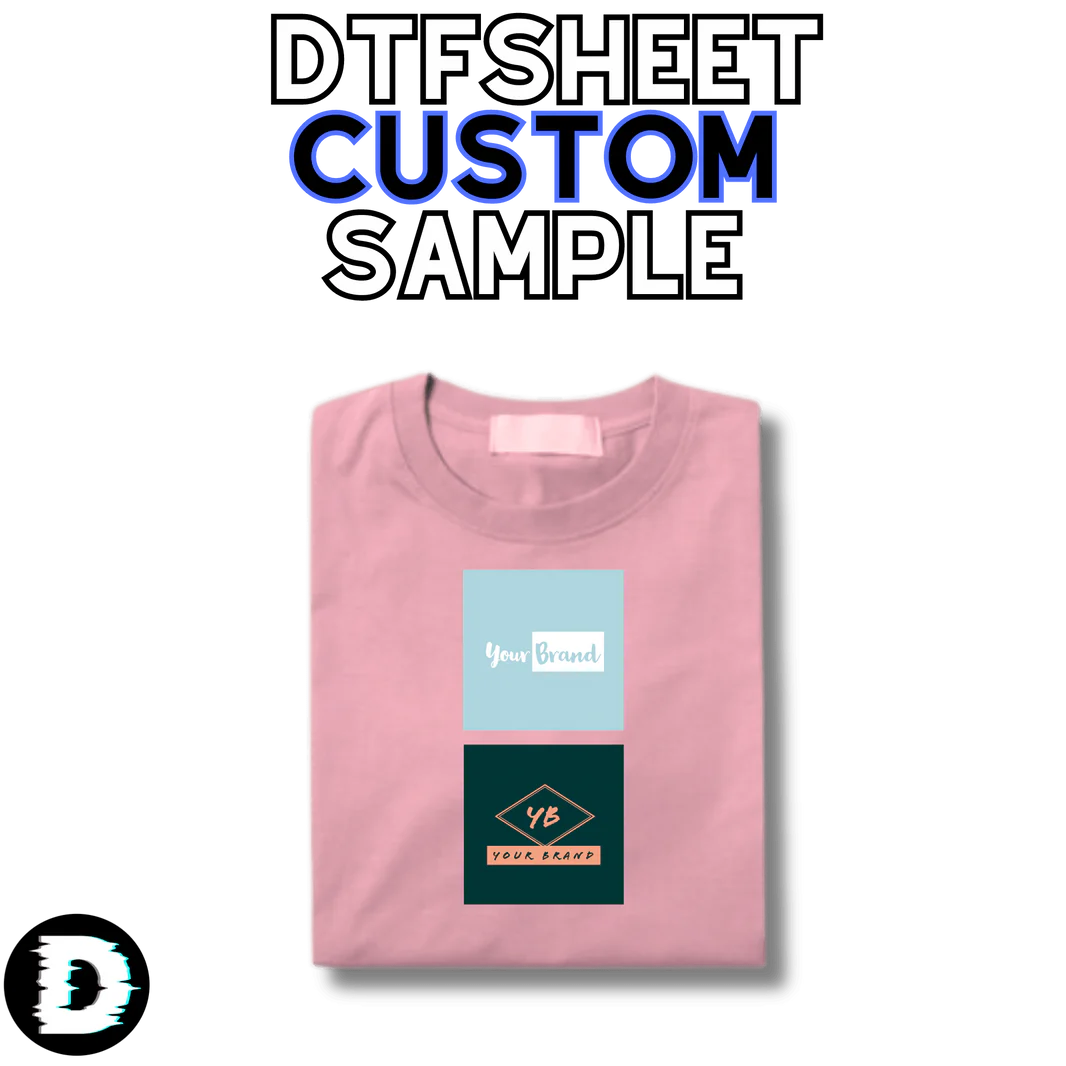
Placement can make or break your final product. Misaligned prints? No thanks! Take the time to get it right:- For T-shirts: Chest designs usually sit 2–3 inches below the collar.
- For full-back prints: Center them horizontally and start about 4–5 inches down from the collar.
- Pro Tip: Use templates or alignment guides to ensure consistency.
Common Design Mistakes to Avoid
Here are a few pitfalls that can derail your project—and how to avoid them:
- Low-Quality Images: Screenshots or internet images won’t cut it. Always work with high-resolution artwork.
- Too Much Detail: Tiny details (like lines thinner than 1 mm) might not transfer well. Simplify when possible.
- Thin Lines: Thin fonts or outlines can peel off over time. Stick with a line thickness of at least 2 points.
- Soft Edges: Designs with sharp edges look cleaner and transfer better than those with blurry or fading edges.
DTF Printing Trends to Watch
DTF printing keeps growing in popularity, and these trends are worth keeping an eye on as you plan your designs:
- Personalization Rules: Customized apparel—like shirts with names, dates, or special graphics—is hotter than ever.
- Bold Colors and Metallics: Vibrant neon shades and metallic finishes are on-trend. DTF is perfect for experimenting with these bold choices.
- Layered Textures: Many designers are mixing DTF prints with embroidery or other textures for a unique look.
DTF printing makes it easier than ever to turn your creative ideas into wearable art.
Quick Design Checklist for dtfsheet.com
Before you hit upload, run through this checklist to make sure everything’s good to go:
✅ File format: PNG with a transparent background.
✅ Resolution: 300 DPI or higher.
✅ Color mode: RGB for vibrant colors.
✅ Dimensions: Sized correctly for your item.
✅ Text: Bold, legible, and clean.
Conclusion
By taking the time to prep your designs, you’ll get stunning, professional-quality prints every time. Whether it’s a one-off T-shirt for a special occasion or the start of your small business, following these steps will ensure your custom creations shine.
With dtfsheet.com’s easy-to-use service, the possibilities are endless. Refine your designs, fire up your heat press, and watch your ideas come to life!


