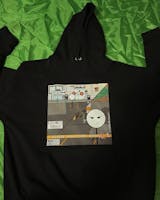
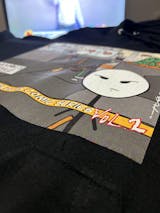
The digital textile printing industry has grown rapidly over the last decade as more users have switched from traditional methods to digitized printing. The widespread use of digital printers has supported this growth by making the textile printing process easier, simpler and more reliable. In addition, digital printers enable the use of a variety of colors, improving textile performance and reducing costs. There are many different processes under digital printing on textiles. In this article, we will specifically cover the Direct Film Printing (DTF) process.
How does DTF Printing Work?
In order to apply DTF printing, it is also necessary to perform some steps properly. Although this printing process is slightly different from others, the best result is achieved when these steps are taken into account. Below is information about the stages of custom heat transfer:
Acquiring DTF equipment: If you are a professional business, you should acquire DTF equipment first. You should find the best printer to produce high quality and lots of prints. The DTF printer guarantees your business and determines the quality of your prints. On the other hand, you should buy inks compatible with the printer. DTF films also help to transfer the design with your printer. You should also provide heat-activated adhesive sheets. Most importantly, you should find a heat press machine that provides the appropriate heat and pressure.
Design Creation and Adjustment: It is possible to create your design using graphic design software. You can convert the result into a format suitable for printing, such as JPEG or PNG. Then, adjust the color profile and image resolution for clear and sharp prints.
Pre-Processing: For the pre-treatment process, you should use the solution provided for DTF printing. This special solution ensures optimum ink adhesion and color vibrancy.
Printing: After loading the DTF transfer film into the printer, select the appropriate print settings. In these settings, you should select factors such as ink density, print resolution and drying time.
Printing After sending your design to the DTF printer, you can start the printing process. It is important that the ink is cured sufficiently. Because it prevents smudging and damage.
Transfer: Before applying the print, you should leave a small border around the edges of the design. You should pay attention to the alignment of the adhesive layer you place on the heat press machine. If you are using different materials, you should check the recommended temperature and time settings.
Peeling Peeling refers to the finishing process of DTF printing. After heat pressing, you should do cold, warm or hot peeling. Here it is important to make sure that the design adheres properly. Once the print of your design has cooled down a bit, you can peel it more easily.
The stages in this guide are very important for mastering DTF printing. It is worth noting that these stages are for businesses. You should know that the individual printing process is simpler. If you intend to print alone, it is possible to complete the process by following specific manufacturer instructions.
How to Do DTF Printing Alone?
To get started with DTF printing, you should follow the instructions provided by your manufacturer. These instructions include basic elements such as printing temperature, duration and the surface to be applied. In general, you should prepare the application surface before you start printing. You will already have the transfer print you will use. After applying the transfer film to the surface, you will need to leave it for the specified time. You can use an iron or a heat press machine if you have one.


